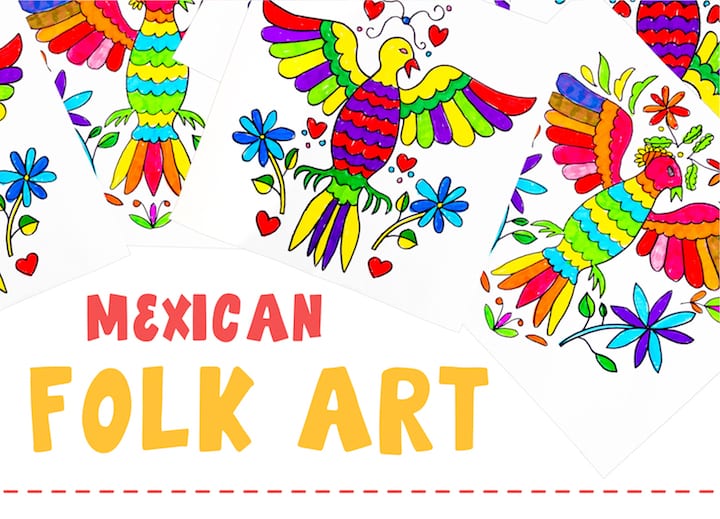
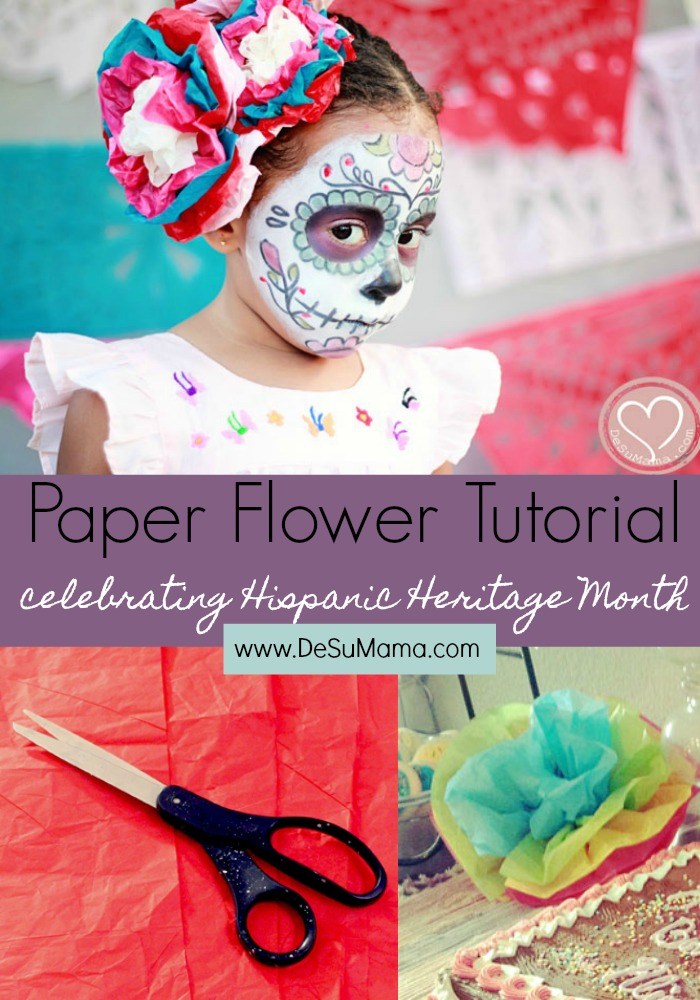
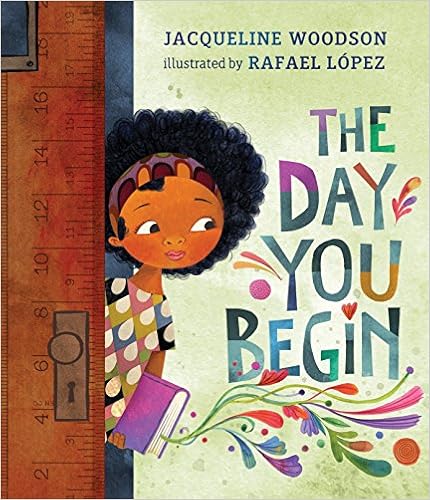
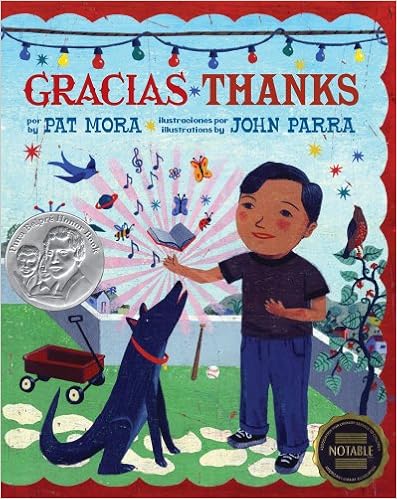
September 15th to October 15th is National Hispanic Heritage Month, and it’s the perfect time to explore and celebrate Hispanic cultural traditions through picture books! Here is a list of books to get you started. If you have a favorite book that honors Hispanic culture, we’d love to hear from you in the comment section!
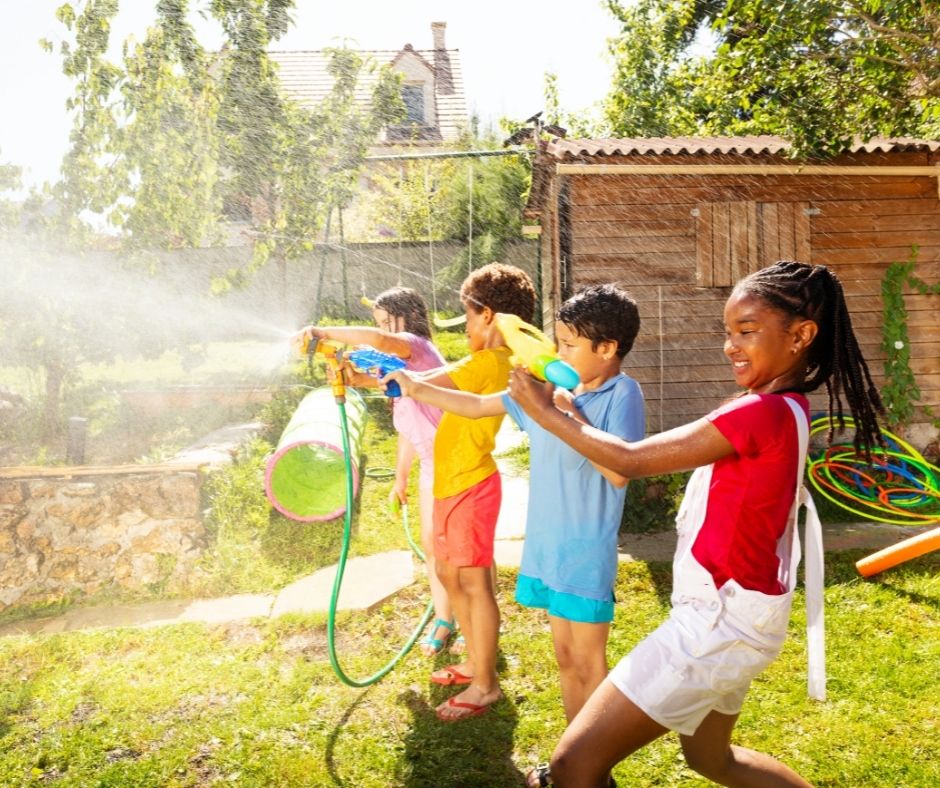
Whether your kids have only been out of school for summer or haven’t stepped foot in a school building for a whole year, the transition back to school can be challenging! Here are some suggestions to help smooth the way:
Re-establish a consistent sleep schedule. My kids can’t be the only ones whose bedtime schedule has creeped further and further back…right? If your summer schedule is anything like ours, it involves a lot of enjoying the long, sunny days and not many early bedtimes. Start getting kids back on track about a week or two before school starts by slowly inching that bedtime closer and closer to your goal. By putting kids to bed about 15 minutes earlier each night, the transition is a little less painful.
Talk to them about how they’re feeling about going back to school.
Are your kids excited to go back? Nervous? Unsure? Are they worried about what this school year will be like? Open the conversation with them and give them space to share their feelings. Listen and help them think through the tools they have in their toolboxes to handle upcoming challenges.
Establish after school rules.
Help kids know what to expect for their afterschool time by discussing it up front. Have a family meeting and brainstorm together to make a plan of how you want afternoons and evenings to go. Make your expectations clear, but let them help you figure out how to make it fun! Remember, after a long day of being on their best behavior (hopefully!) they might need a little time to decompress before homework or other expectations.
Celebrate the end of the summer.
Celebrate the end of the season and look forward to the fresh start that the school year brings. Make a list of fun times you’ve had this summer, and talk about what they’re looking forward to at school. Make it special — have your end-of-summer celebration over ice cream sundaes, at a picnic at the park, or part of a special outing.
Use checklists to get out the door.
Tired of nagging? Help your kids learn independence by making a checklist of the steps to get ready for school. For younger kids, make a visual checklist, either with illustrations or photographs of your child getting dressed, brushing her teeth, eating breakfast, etc. Make this checklist ahead of time, and have a dry run. When they’ve done it successfully, make sure to celebrate!
Be flexible.
Remember that the transition back to school can be challenging! Kids are often exhausted and it’s not uncommon for kids to be cranky or have meltdowns after school for those first few weeks back. Remind yourself that it’s normal, give them space, and try doing some decompressing activities first thing after school. Have a snack and a drink ready, then try some calming sensory activities, like Play Doh or sand and water play, or fun physical activity, like a bike ride or playing tag at the park. Keep your sense of humor and remember that this too shall pass.
/wp-content/uploads/2017/02/logo.png00Kathy Craig/wp-content/uploads/2017/02/logo.pngKathy Craig2021-07-30 00:09:102021-07-30 00:23:58Back to School Tips
Watch to learn how to do some Valentine’s themed science fun!
Supplies:
An empty bottle
4 Alka Seltzer tablets
1/2 cup water for each round
A balloon
A Sharpie
Directions
Break the Alka Seltzer tablets into small pieces and drop them into the bottom of the bottle.
Brainstorm a couple of your favorite conversation heart messages and use the Sharpie to draw them on the balloons. (optional) *TIP: the conversation heart is more crisp and clear if you first blow it up with air, temporarily pinch it closed with my fingers and then draw the picture. When drawing the conversation heart while flat and empty, the image stretches too much when the balloon is inflated.
After making a prediction about what will happen, carefully pour the water into the bottle.
Then, speedily stretch the mouth of the balloon with your fingers and stretch it over the rim of the bottle and watch the balloon inflate!
*Science behind it: Similar to the reaction that occurs when you mix baking soda and vinegar, when you pour water on Alka Seltzer tablets, carbon dioxide gas bubbles begin forming. These gas bubbles rise up in the bottle, filling the balloon with carbon dioxide gas.*
/wp-content/uploads/2017/02/logo.png00Kathy Craig/wp-content/uploads/2017/02/logo.pngKathy Craig2021-02-01 23:51:472021-02-01 23:53:00How to make inflatable conversation hearts
/wp-content/uploads/2017/02/logo.png00Kathy Craig/wp-content/uploads/2017/02/logo.pngKathy Craig2021-01-12 01:33:502021-02-01 23:54:04How to Make a Snow Globe
Watch to learn how to make a pipe cleaner Rudolph with a light-up nose!
This week’s curbside supply bags included the supplies to make a light-up Rudolph. If you weren’t able to get a supply bag this week, you can follow along with these instructions.
Supplies:
1 coin cell battery
1 brown pipe cleaner
1 gold pipe cleaner
2 googly eyes
1 red LED pin light
brown duct tape
glue dots or glue
Directions:
Cut both of the pipe cleaners in half. On both ends of the cut brown pipe cleaner, pull the fur off of about 1/4 and inch of it to leave just the metal exposed. This helps the pipe cleaners to have a better connection with the metal and makes the light work better.
Twist the end of one brown pipe cleaner half to one side of the LED light. Repeat with the other brown pipe cleaner half.
At the top of the pipe cleaners, bend in at an angle to make the top of the head.
The pins on the lights are different lengths. The long side of the pin light is positive and the short side is negative. You will need to match those up with the battery charges for the light to turn on.
To make your antlers, cut 2 inches off of the tops of the gold pipe cleaners and twist around the tops of them. Then attach them to the top of the reindeer head on the edges near the bend.
Using brown duct tape, tape the ends of the pipe cleaner around the battery — match up the ends with the correct charge. You will see it light up if it is correct.
/wp-content/uploads/2017/02/logo.png00Kathy Craig/wp-content/uploads/2017/02/logo.pngKathy Craig2020-12-08 01:51:542020-12-08 01:51:56How to Make an LED Rudolph!
/wp-content/uploads/2017/02/logo.png00Kathy Craig/wp-content/uploads/2017/02/logo.pngKathy Craig2020-11-21 04:26:022020-11-21 04:26:03How to Make Playdough Turkeys
Watch to learn how to make crystal covered pipe cleaner leaves!
This week’s curbside supply bags included the supplies to make Borax crystal leaves. If you weren’t able to get a supply bag this week, you can follow along with these instructions.
Supplies:
Borax
Pipe cleaner – in fall colors
Popsicle stick
String
Cup
Stainless steel pan or glass
Water
Directions:
Bend your pipe cleaner into the shape of a fall leaf. You will need a place to attach the string, so make sure each leaf has a short stem. Also, the leaf will need to fit in your cup without touching the sides or the bottom, so keep that in mind when creating your designs.
Tie a piece of string to each leaf, and then tie the other end to a popsicle stick. Hang your leaves so that they will be suspended in the borax solution that you will make next.
The regular recipe of ¾ cup of borax and 1 cup of water should be enough for one leaf. Bring the water to a boil. Then stir in the borax. It’s okay if it doesn’t all dissolve. Just stir until you’ve dissolved as much as you can. You want the solution to be completely saturated, so it’s okay if there’s a little borax left at the bottom of the pan. *Note: You can use a regular stainless steel pan on the stove or a glass in the microwave and neither will be damaged.
Pour some borax solution into a cup then suspend the leaf in the cup. Make sure that the leaf is not touching the sides or bottom of the cup!
Take the crystals out of the cup after 5 hours. Leaving them overnight is fine, too.
*It is not recommended to handle the finished crystals more than you need to. The crystals break easily, so you won’t want to allow kids to carry these around and play with them anyway. They are beautiful to make and display! Try making ornaments out of them by adding a piece of ribbon.
/wp-content/uploads/2017/02/logo.png00Kathy Craig/wp-content/uploads/2017/02/logo.pngKathy Craig2020-11-10 02:34:322020-11-10 02:35:18How to Make Crystal Science Fall Leaves!